How to set up a Minecraft server on BisectHosting
This time I will provide how to buy a Minecraft server on BisectHosting, here is how.
BisectHosting
BisectHosting is a platform suitable for people who need game servers, VPS, and dedicated servers. Because this platform provides all those services. It was founded by Andrew Blatchford and Max Podkidkin in 2011.
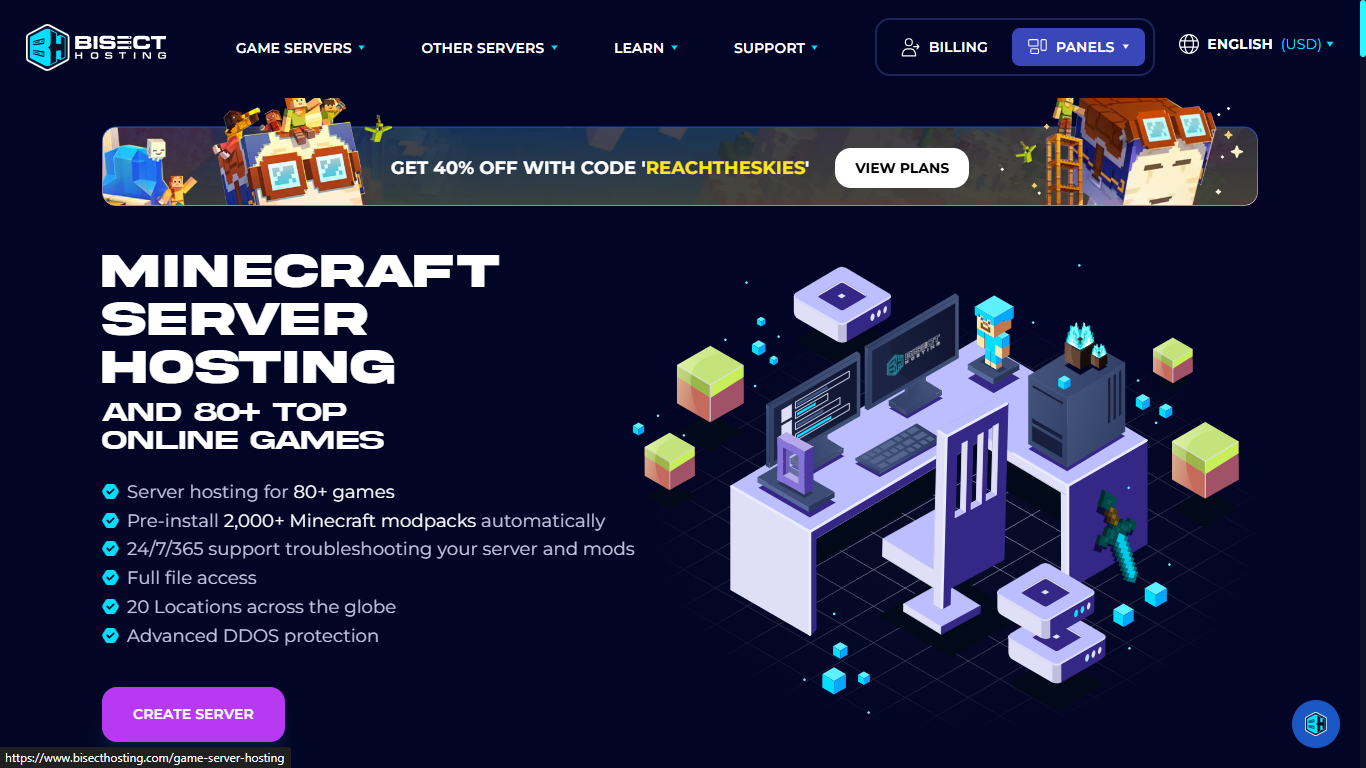
1. Go to the Bisecthosting website
You can use this link or you can use the link from CurseForge Crafting Table Plus mod and get a discount of up to 25%.
Attention! Both links above are affiliate links. If you do not want to use them, you can type them in your search engine yourself, such as: BisectHosting Minecraft server.
After you are on the homepage of the website. You can go a little down to see the create server button.
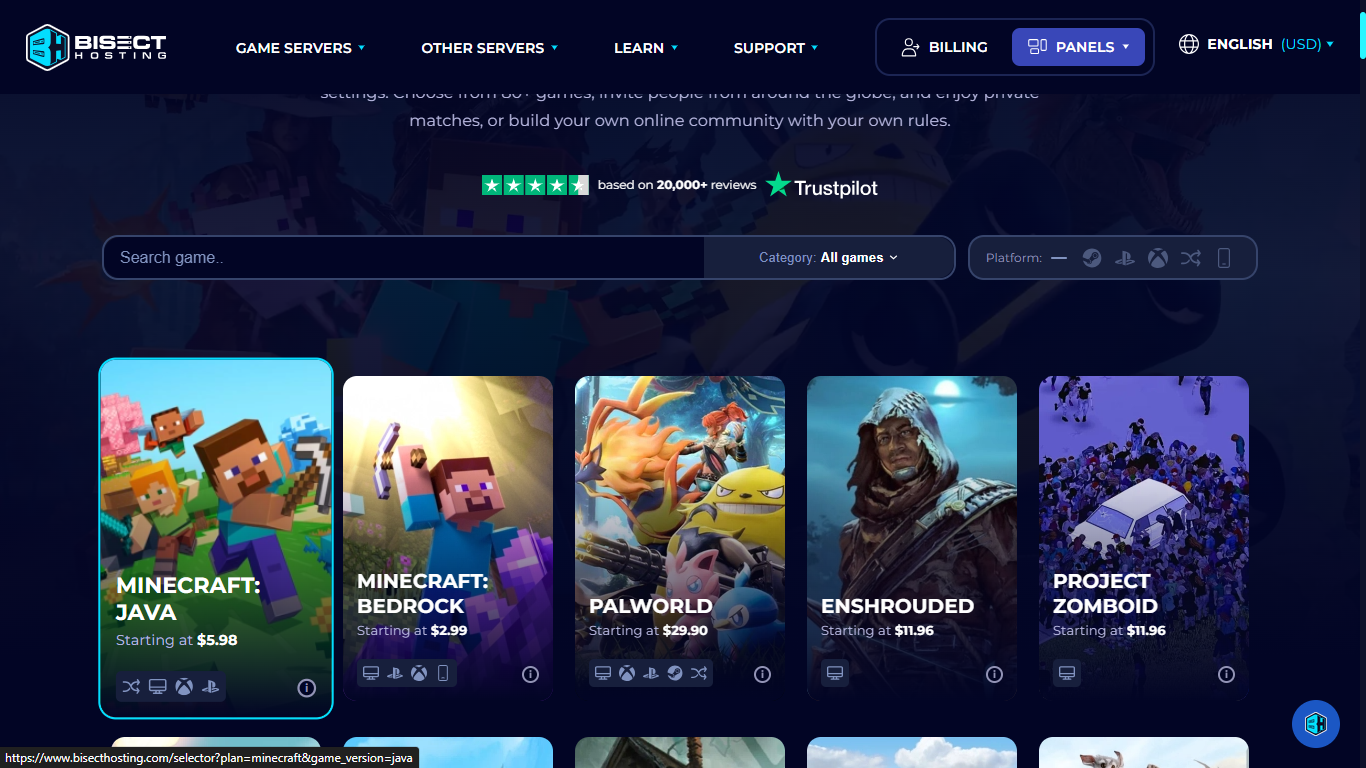
2. Choose game server
because at this time we are discussing the Minecraft Java server, so choose Minecraft Java server
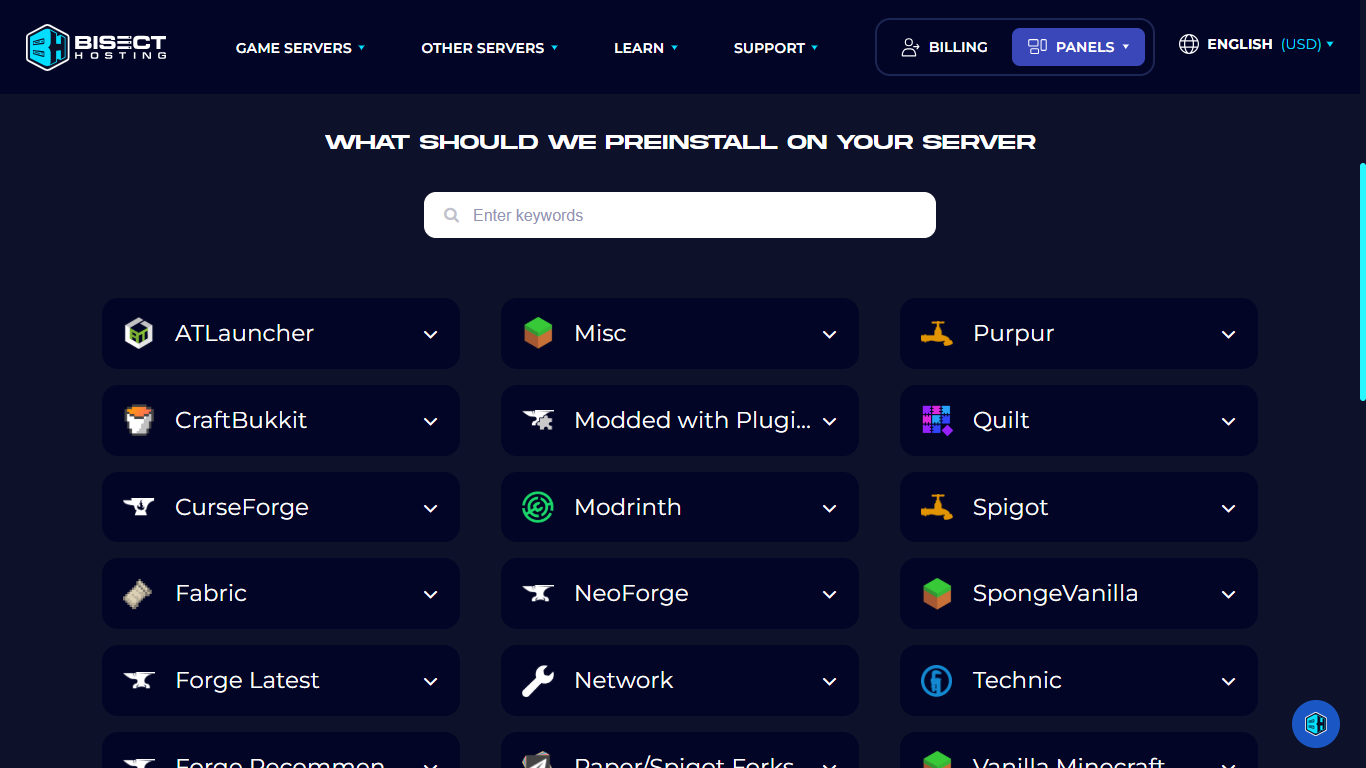
3. Choose Minecraft version
You can choose any version, such as vanilla, or modded ones like Curseforge, Modrinth, and others.
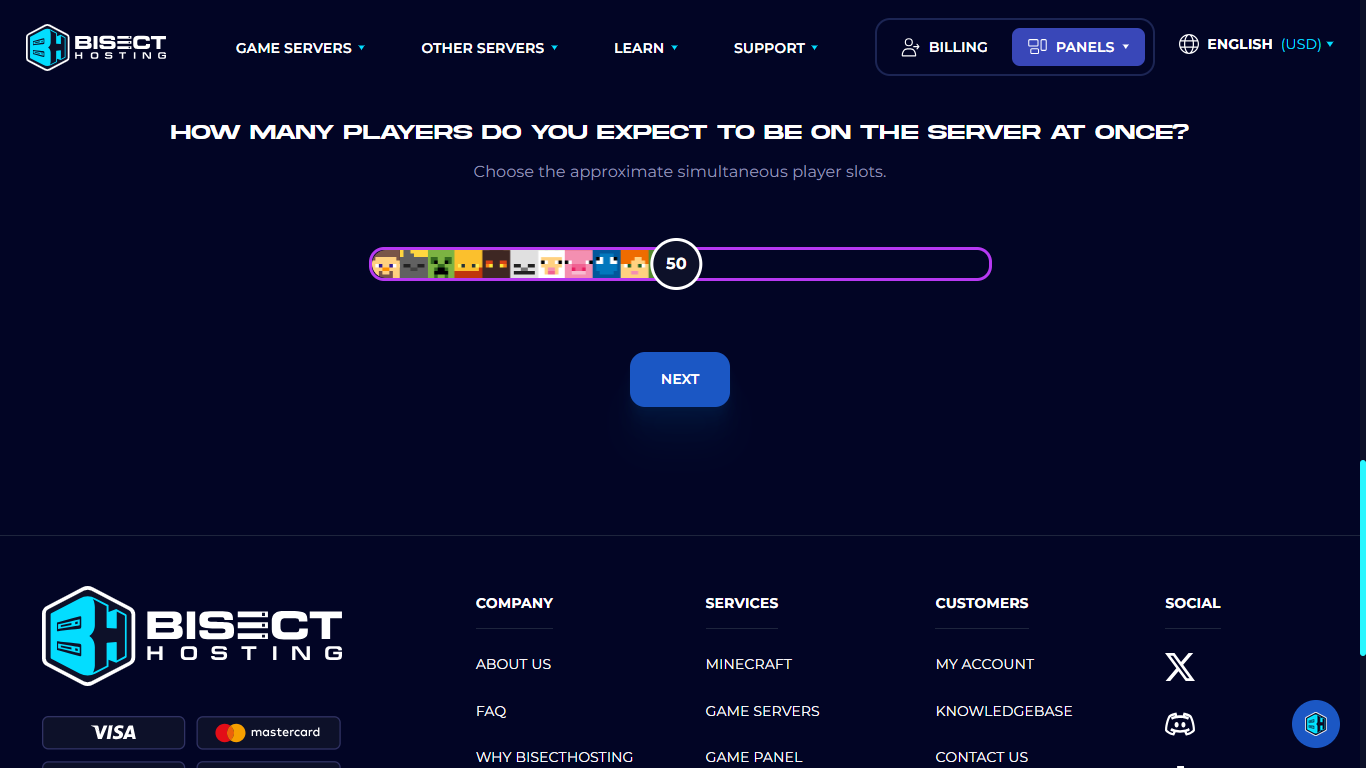
4. Set how many players can enter the server
You can choose how many players can enter your server. By setting this, you will achieve the best gaming experience, and other players on your server will feel it too. But remember not to let your server exceed the player limit you have set.
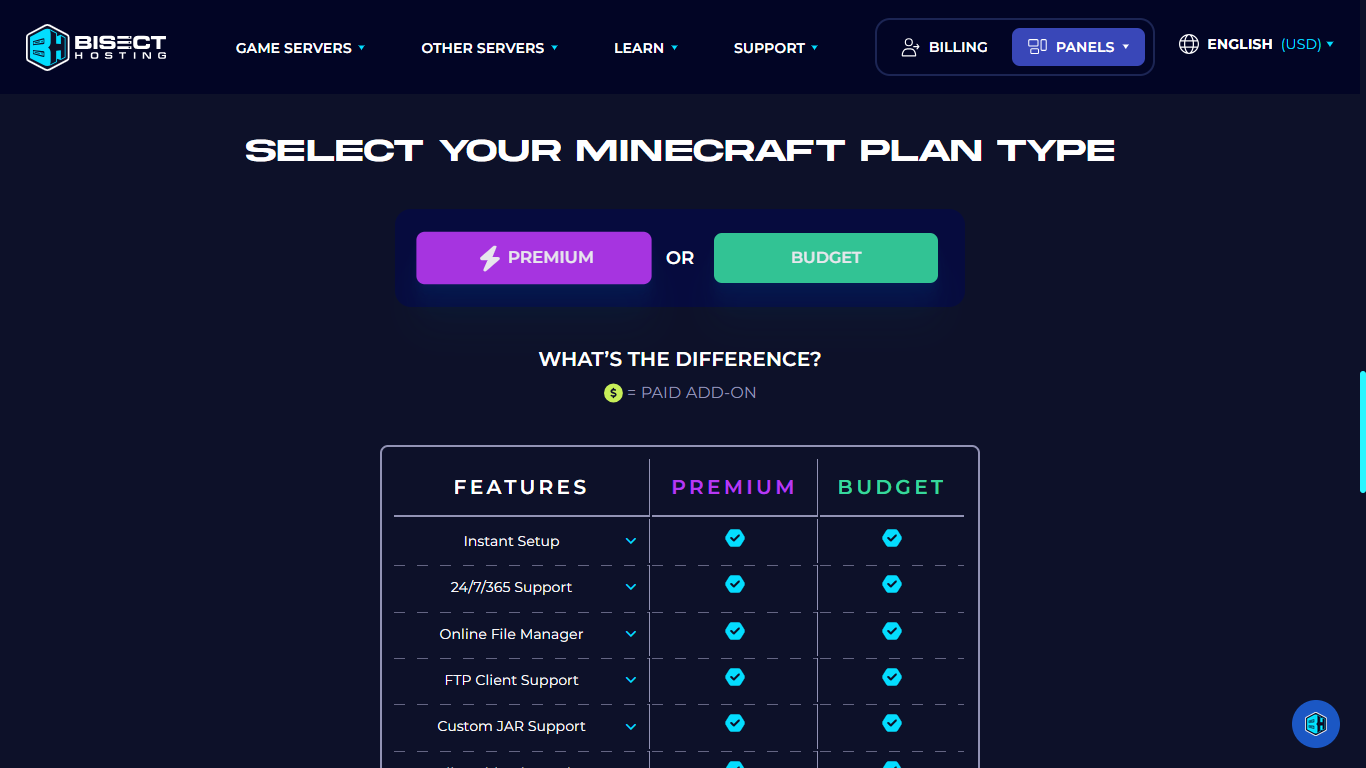
5. Choose budget or premium
I recommend choosing premium as it not only offers many features but you will also get various server locations to choose from in order to achieve low latency, this helps ensure that the server gets a good ping.
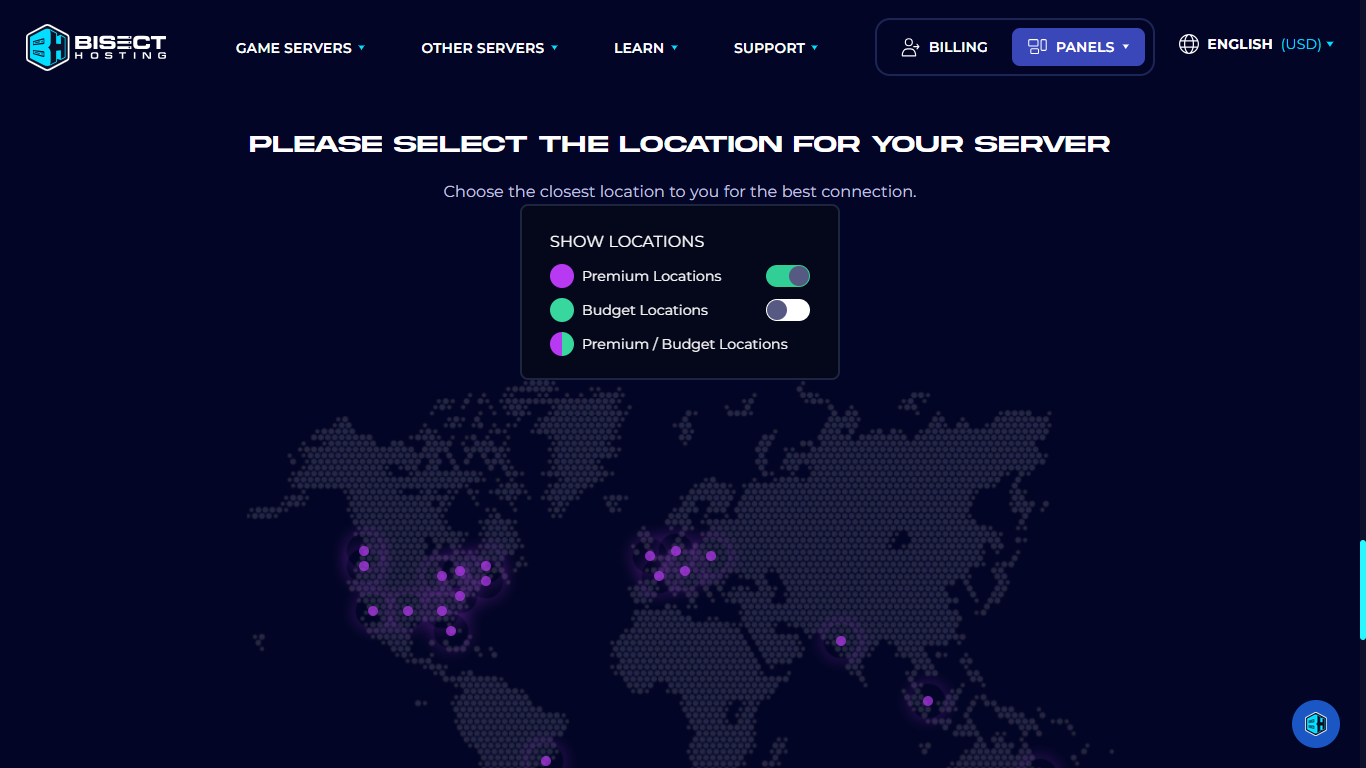
6. Choose server location
I recommend choosing a server that is close to your location. Why do I recommend this? Because by selecting a server that is close to you, you will achieve a good ping to connect to the server. Alternatively, you can press the available dot and you will see a notification of either good or poor latency.
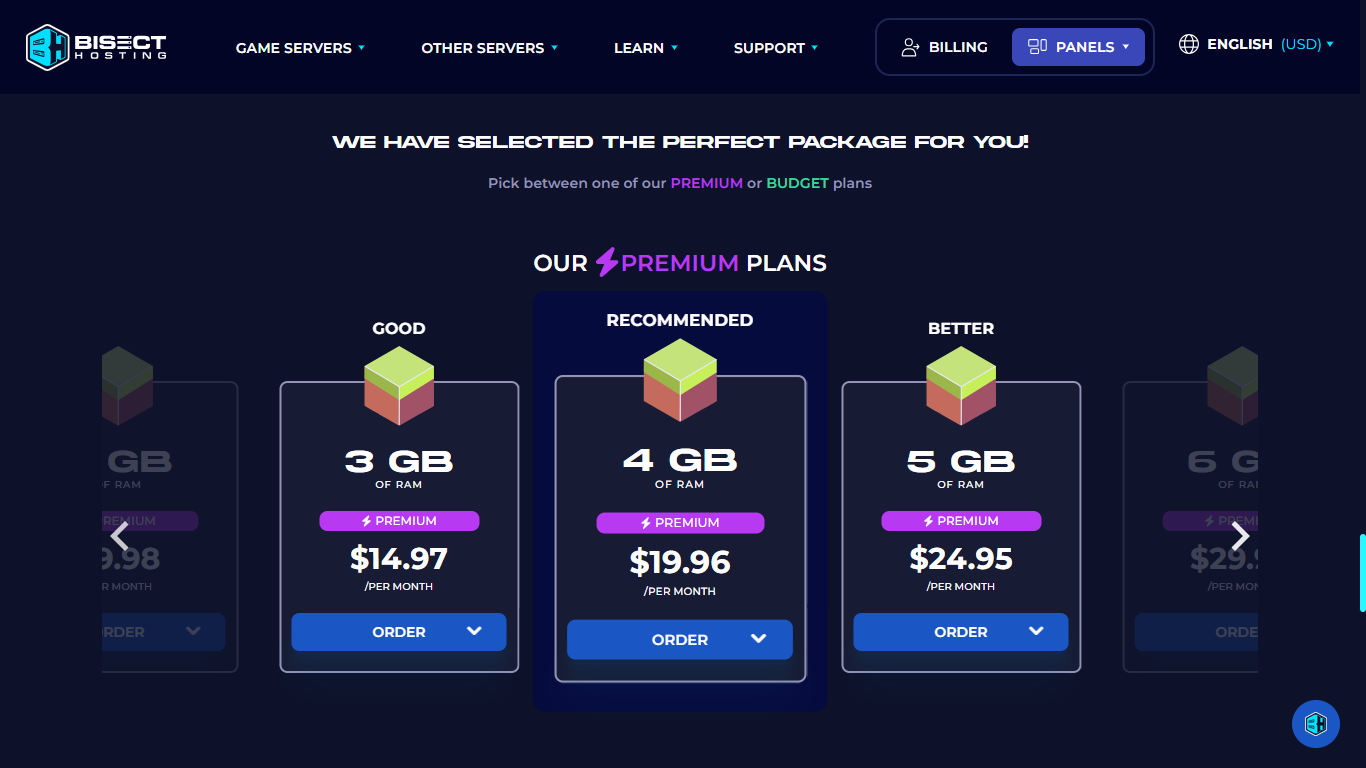
7. Choose plan
Choose recommended or even better, this provides the best server performance. Or if you want to save a bit, you can choose the good option, this is already quite good for performance.
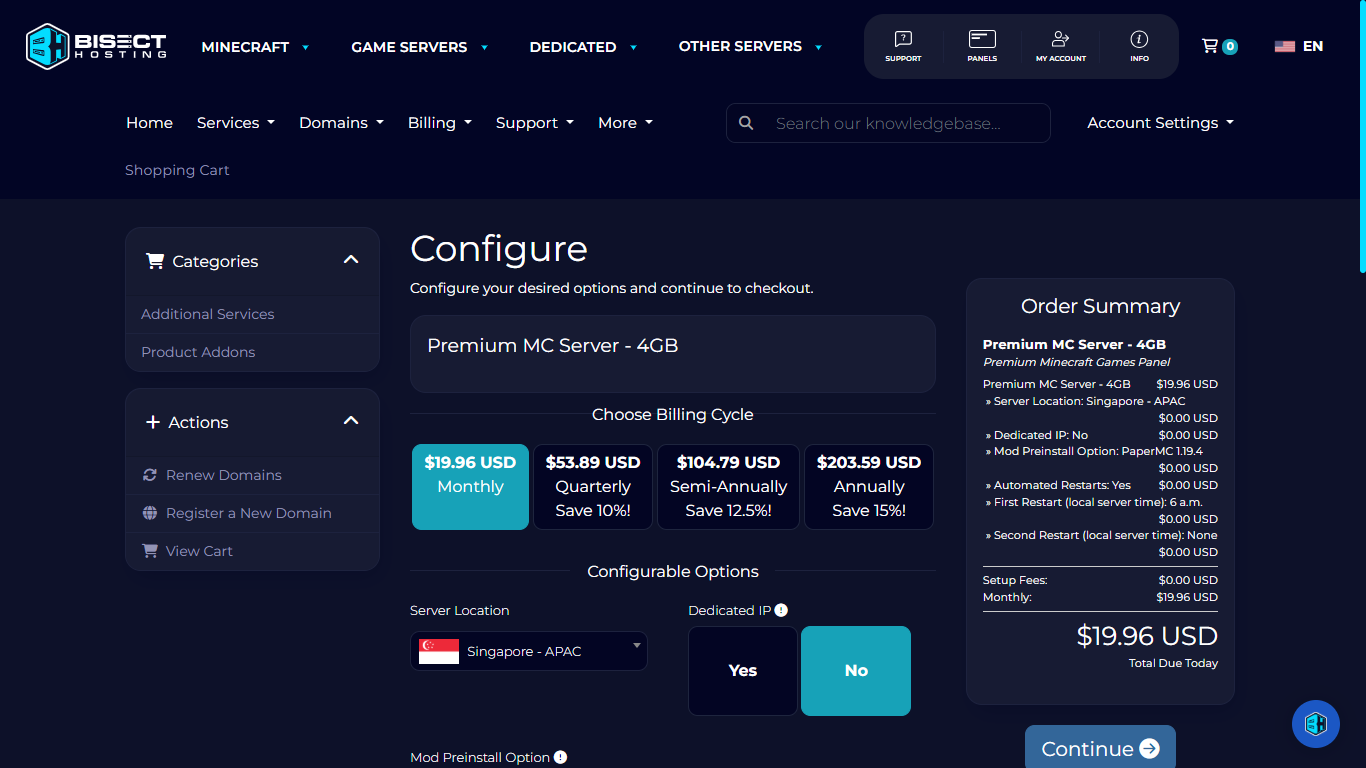
8. Configure your desired options
Here you can reset or verify billing, server location, dedicated IP, preinstall options, automatic restart, first restart, and addons. If you have set everything up, you can press the continue button.
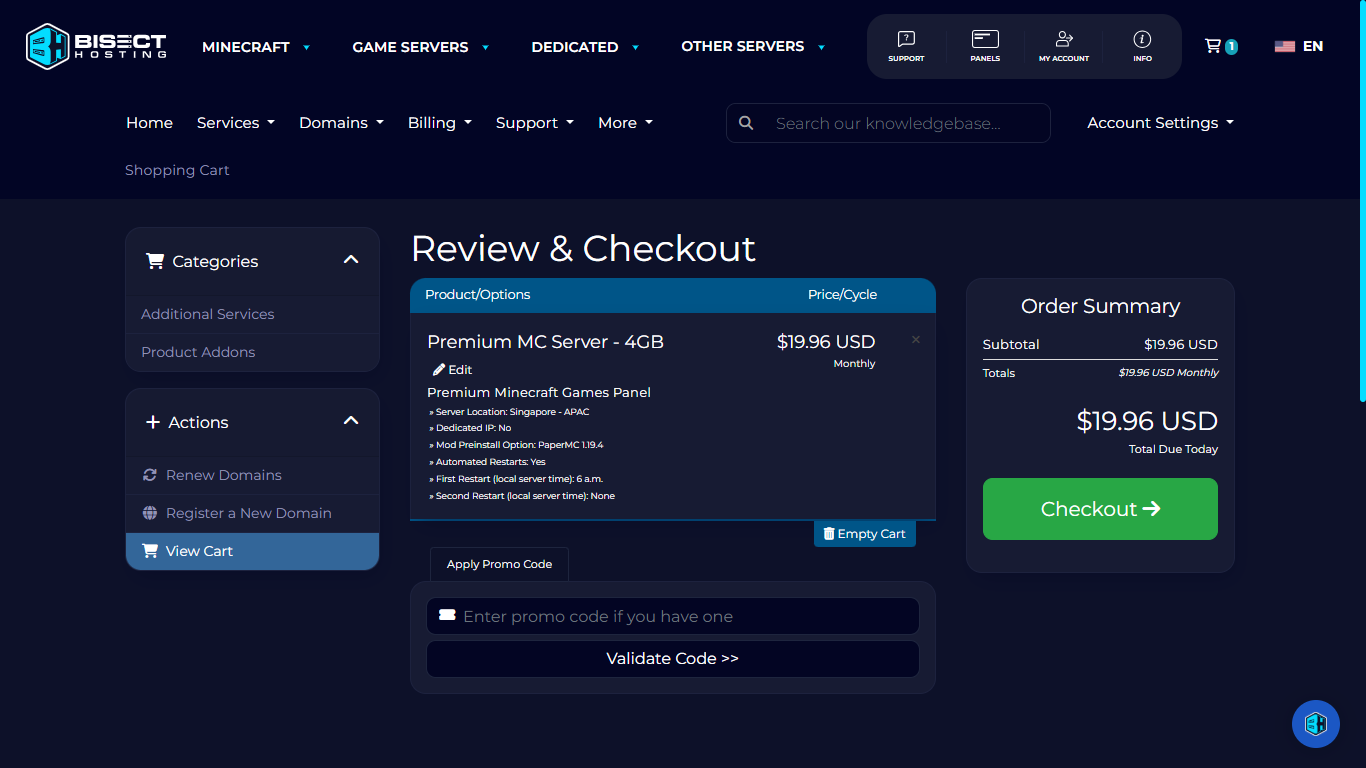
9. Checkout
After all that has been done, you can now check out your order, and you can also choose payment methods like PayPal and others. After this, you will have the server you just bought displayed on your dashboard, and you can manage mods, plugins, and more.
Conclusion
Congratulations, you now have your own Minecraft server. Now you can play with your friends on the server.
For more information, you can visit the BisectHosting site.
source of screenshot: BisectHosting